")
")
To start a meeting and invite participants
Go to https://edu.meet.garr.it/
You will see the main screen of the eduMEET service where a randomly generated room name and participant name are visible. We recommend that you use this room name instead of creating your own room name; this will minimise the chances of other people using the same room name and accidentally joining your call. There is no need to reserve a room name before. Rooms are created ad hoc.
If you have an organisation account you can use the federation login link available in the top-right corner. Click it to redirect to your organisation login page.
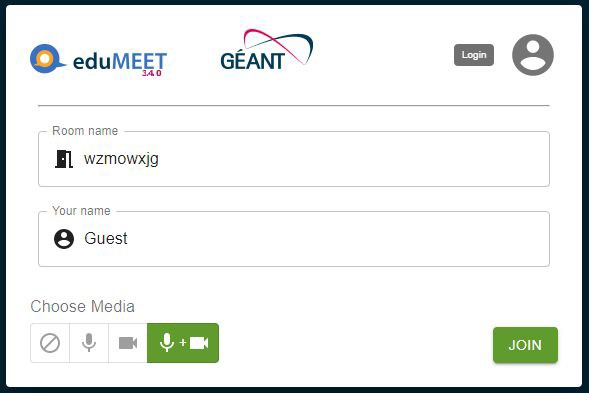
Below, under “Choose Media” you can select audio and video options to use when you are in the meeting room:
No media - your camera and microphone will be switched off by default and your video and audio streams will not be sent. You will be able to manually switch on your camera and microphone during the call.
Audio only - your camera will be switched off by default and your video stream will not be sent. You will be able to manually switch on your camera during the call.
Video only - your microphone will be muted by default and your audio stream will not be sent. You will be able to manually unmute your microphone during the call.
Audio and video - your audio and video streams will be active by default. You will be able to manually switch off your camera or mic during the call.
Click the “Join” button to join the meeting.
Pop-up(s) will appear, asking if you allow the eduMEET to use your microphone/camera. Click ‘Allow’. Browsers should remember these settings and If you accidentally deny access to the microphone/camera, you can change it later in your browser options - in site settings.
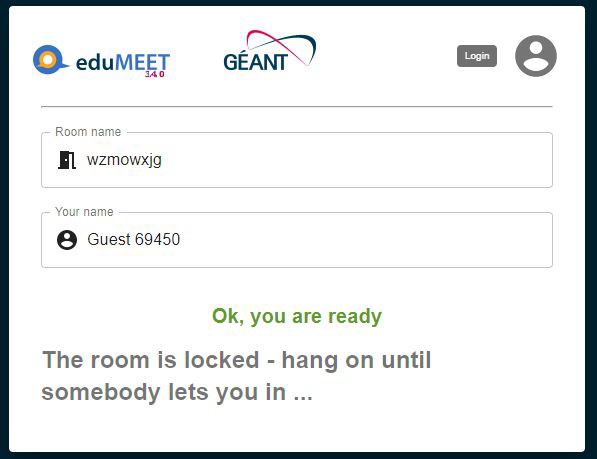
If the room is locked, you will see an information message and need to wait until the room admin unlocks it for you. After it’s done, you will be automatically redirected to the room.
To invite participants to join the meeting, copy the URL that appears in the browser, e.g. https://edu.meet.garr.it/q2e3hohw and paste it into an email invitation.
Some participants may use poor internet connection and it may cause different issues. In this case it’s recommended to use only audio stream.
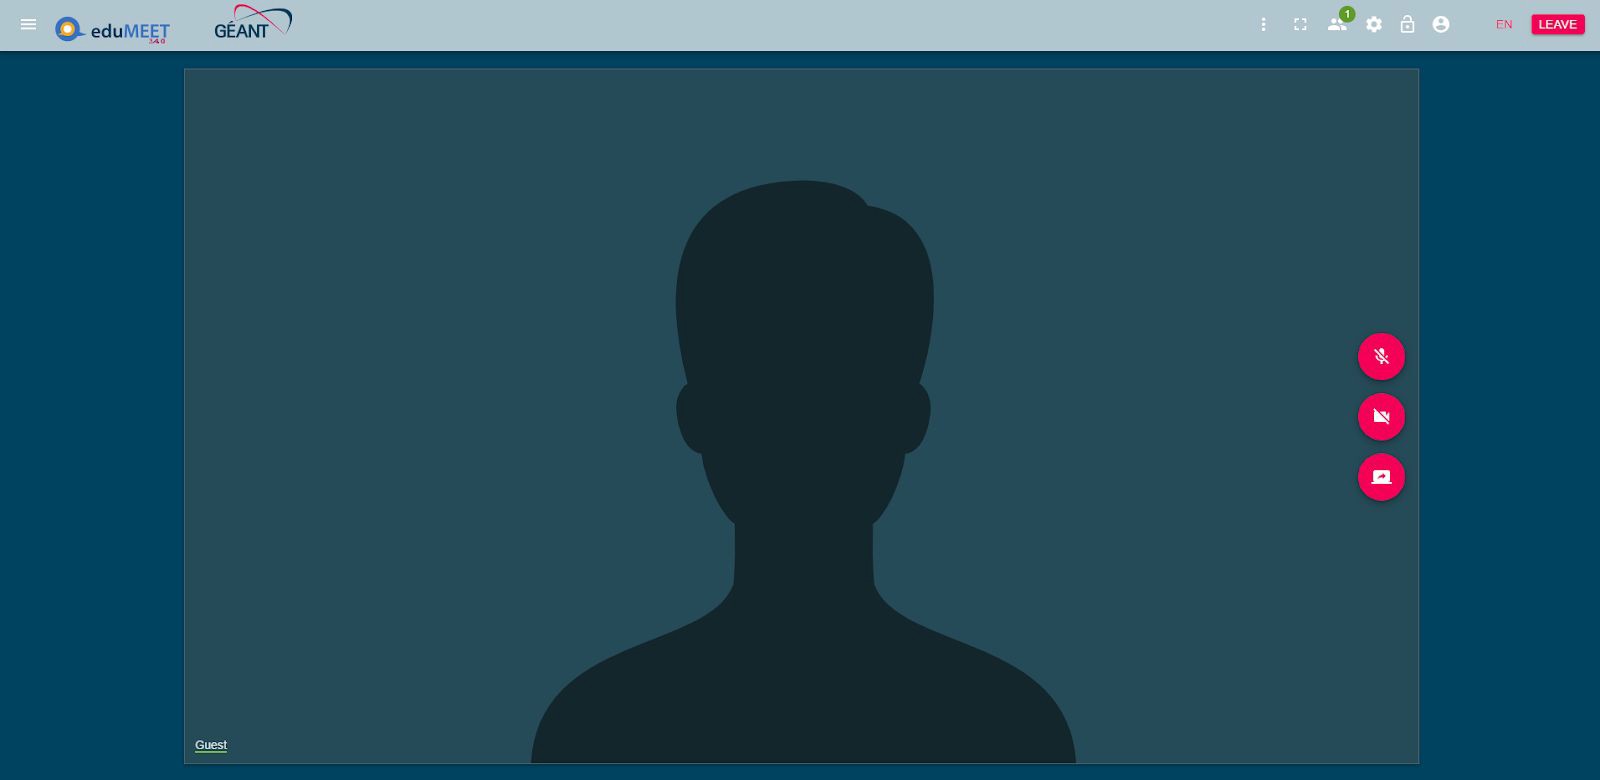
During a meeting: managing the settings and options
Remember to mute your Mic while you are not talking. Simply use the “m” key or space bar, or click on the Mic icon in your video window.
On screen menu (participants window)
Mute audio (shortcut: ‘m’ key or ‘Space bar’) Each participant has to remember to mute own microphone – currently it is not possible for the host to mute everyone.
Stop video - Each participant has to remember to turn on/off their own camera – currently it is not possible for the host to do this for everyone.
Screen sharing To start screen sharing click the icon ytr then select what you wish to share and then click ‘Share’ (Chrome) / ‘Allow’ (Firefox). To Stop screen sharing – if you are already sharing your screen, click the green screen share icon.
To cancel screen sharing before you complete the action - If you decide not to share your screen but have already clicked the start screen sharing icon, please note that there are differences between browsers.
In Chrome you can simply ‘Cancel’; you will see a red error message appear (see below), but this will cause no problem to continue with the meeting.
In Firefox, if you click ‘Don’t allow’, the same red error message will appear, but then screen sharing will be disabled for the duration of the meeting and an error message will appear each time you try to share a screen. Therefore, in Firefox it is best to first share a screen and then stop it.
Screen sharing error message – cancelling screen share before you complete the action
Viewing shared screens
When a screen is shared a new panel will open within eduMEET to display the shared screen. If participants move their cursor over this panel they will see two icons:
Opens the shared screen in a separate browser window that can be enlarged for detailed viewing.
Enlarges the shared screen within the current eduMEET browser window.
Quick Actions buttons (Top right corner)

From the left, these buttons allow you to:
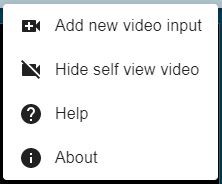 Open More actions menu:
Add new video input - you can add video stream from new source
- Hide self view - you can hide your video streams from your eduMEET
window
Help
About
Enter full screen mode
Show the lists of the participants
- Lock the room - if the room is locked, nobody else can join it
until you unlock it again. If room is locked and there will be people waiting
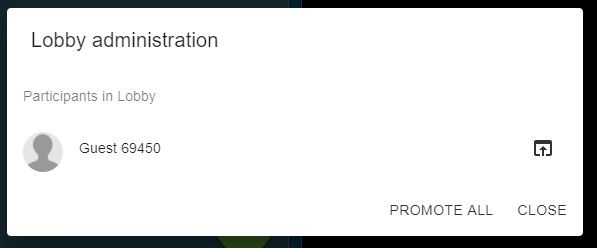
to join, you will see lobby icon
Click it to open lobby administration
Use “Admit from lobby” icon to let selected participant in or “PROMOTE ALL” to allow everyone on the list to access this room.
Log in - click to redirect to your organisation login page.
Leave the meeting
Main menu section (Top left corner)

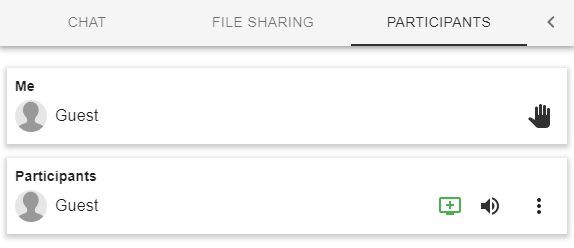
CHAT - Start chat conversation
FILE SHARING - Start file sharing (via Torrent )
PARTICIPANTS - Show list of Participants.
List of participants gives a possibility to mute or unmute specified participants. If you can not see the participant stream on the screen because there are too many active participants, you can add some of them to the spotlight and they will be always visible on the screen.
In conference configuration (optional)
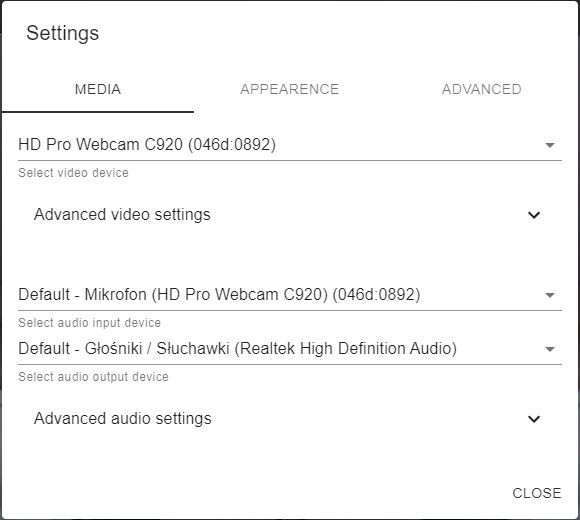
Once you are connected use Show settings button
Check and adjust settings if required:
Media tab
Select/change Audio & Video devices
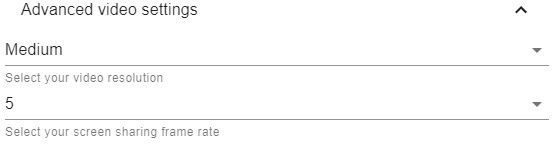 Advanced video settings allow to change video resolution
and screen sharing frame rate
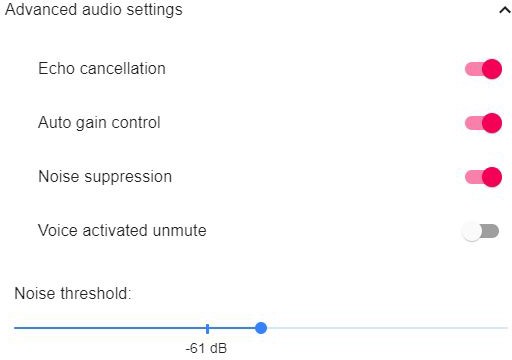
Advanced audio settings allow to turn on/turn off:
Echo cancellation
Auto gain control
Noise suppression
- Voice activated unmute - you will have also possibility to set
Noise threshold
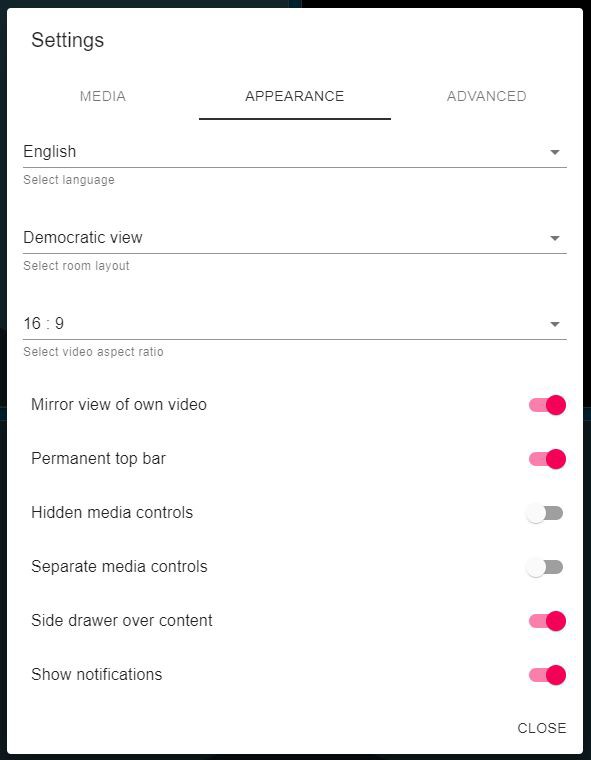
Appearance tab allow to change
Interface language
Room layout to democratic or filmstrip view
Video aspect ratio (16:9 or 4:3)
Mirror view of own video
Set top bar permanently visible
Hide media controls
Separate media controls to display it outside video box
Set side drawer over the content
Show or hide notifications
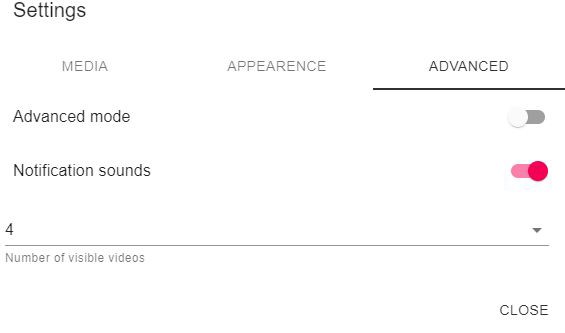
In Advanced tab you can
- Switch to advanced mode - additional stream info will be displayed
in the video box
Turn on or turn off notification sounds
Set number of visible participants in your browser
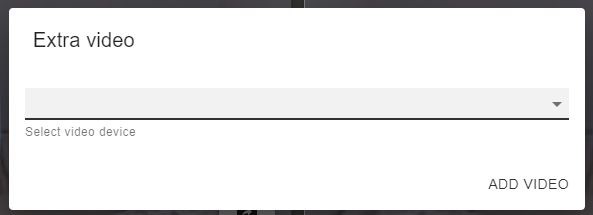
Add video stream from new source
This option is available from Quick Actions buttons menu (“Add new video input” option). After opening the “Extra video” box, you can select device which will add new video stream to the room.
To stop this stream just click  icon on the stream.
Leaving the meeting
To leave the meeting just click the “LEAVE” button in the right top corner of your screen or close your browser window.
